
최신글
hyeonga_code
Ajax_실습_httpRequest.js 모듈 사용하기 본문
반응형
- Ajax 실습
- webapp > ch01 > 'httpRequest.html' 파일을 생성합니다.
=====
|
1
2
3
4
5
6
7
8
9
10
11
12
13
14
15
16
17
18
19
20
21
22
23
24
25
26
27
28
29
30
31
32
33
34
35
36
37
|
<!DOCTYPE html>
<html>
<head>
<meta charset="UTF-8">
<title>Insert title here</title>
<script type="text/javascript" src="httpRequest.js"></script>
<script type="text/javascript">
// 입력 버튼을 클릭하면 함수가 호출됩니다.
function helloToServer() {
// 매개 변수 값에 name에 입력된 값을 인코딩하여 저장합니다.
var params = "name=" + encodeURIComponent(document.f.name.value);
// 저장된 값을 POST 방식으로 httpRequest.jsp 파일에 넘기고 요청이 종료되면 함수를 호출합니다.
sendRequest("httpRequest.jsp", params, helloFromServer, "POST");
}
function helloFromServer() {
// 요청이 완료된 경우
if (httpRequest.readyState == 4) {
if (httpRequest.status == 200) {
// 팝업으로 출력해줍니다.
alert("서버응답:" + httpRequest.responseText);
}
}
}
</script>
</head>
<body>
<form name="f">
<input type="text" name="name" />
<input type="button" value="입력" onclick="helloToServer()" />
</form>
</body>
</html>
|
- 서버에서 전송할 응답 데이터를 작성합니다.
- ch01 > 'httpRequest.jsp' jsp 파일을 생성합니다.
=====
|
1
2
3
4
5
6
7
8
9
10
11
12
|
<%@ page language="java" contentType="text/html; charset=UTF-8"%>
<%-- plain으로 변경합니다. --%>
<%
// 넘겨 받은 값을 인코딩합니다.
request.setCharacterEncoding("utf-8");
// 넘겨 받은 값을 변수에 저장합니다.
String name = request.getParameter("name");
%>
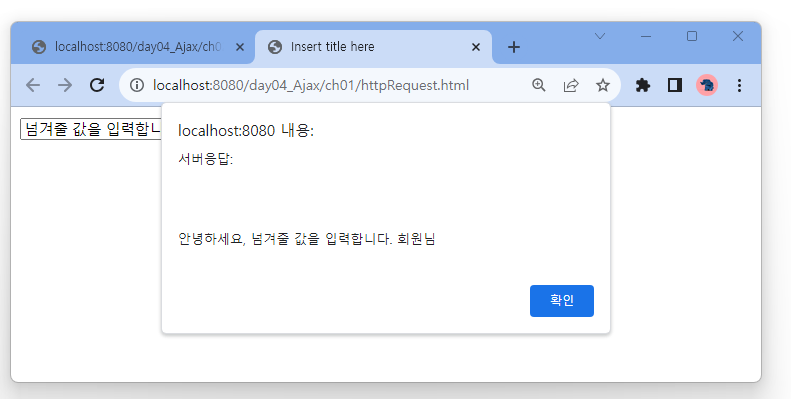
안녕하세요, <%= name %> 회원님
|
- 'httpRequest.html' 파일을 실행합니다.
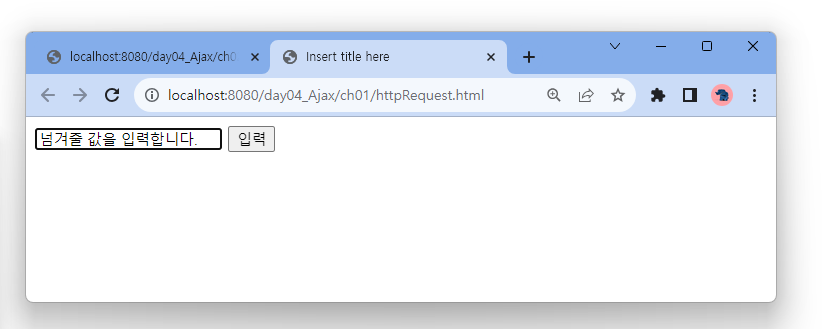
- 입력 버튼을 클릭하면 값이 넘어가 출력됩니다.
반응형
'Ajax' 카테고리의 다른 글
| Ajax_innerHTML_1 초마다 현재 시간을 출력합니다. (0) | 2023.10.17 |
|---|---|
| Ajax_InnerHTML (0) | 2023.10.17 |
| Ajax_파라미터에서 한글 처리 방법 (0) | 2023.10.15 |
| Ajax_동기/비동기 방식의 차이 (0) | 2023.10.14 |
| Ajax_서버의 응답 처리_실습 포함 (0) | 2023.10.14 |
'Ajax' Related Articles
more


